So, you’ve mastered the Latte Art Heart (or you’re bored of trying it over and over again) and you want to move on to something a bit more challenging? Let’s introduce you to the Rosetta (Fern Leaf isn’t a fancy enough name for the young hipsters of today).
The Rosetta and Heart have become the stable designs for most baristas – as well as the Tulip, but I’ll cover that another day. However, unlike the heart, you can’t really fudge a Rosetta because otherwise, it ends up looking like a lavender twig put through a blender.
So, if you’ve just come across this blog before you’ve mastered the fundamentals that get you a beautiful love heart like the image below, head over and read my other blogs on how to steam silky milk, and how to pour a love heart.

If you prefer instead to watch videos – then check out my youtube channel as I have a couple of videos on there.
Now, let’s get started with the Rosetta.
- The rosetta starts out the same way as the heart pattern, especially if you’re mastering concentric circles in the base of your heart. Midway through the pour start dragging the milk jug towards the front of the cup evenly and slowly while simultaneously moving the jug from side to side.

Evenly and slowly rock the jug from side to side while simultaneously pulling the jug towards the front of the cup
Don’t “Wiggle” the jug from side to side as a lot of people starting out tend to do, because this will cause the twig-like leaves effect. You really need to focus on nice even strokes of side-to-side movements.
twig-like effect due to wiggling or dragging the cup too quickly
Another mistake people tend to make is dragging the jug too quickly to the front of the cup. It’s a balance of all three movements.
What a lot of people don’t understand about latte art is the velocity of the milk flowing out of the jug. If the speed is too fast, the milk doesn’t get a chance to fall nicely and sit on top the crema, it falls beneath the crema and doesn’t leave a clear line. You’ll also fill your cup up too quickly and you’ll run out of room to finish off your design. So, don’t rush, relax into it, and over time you’ll see the concentric lines forming to make the first part of the leaves.
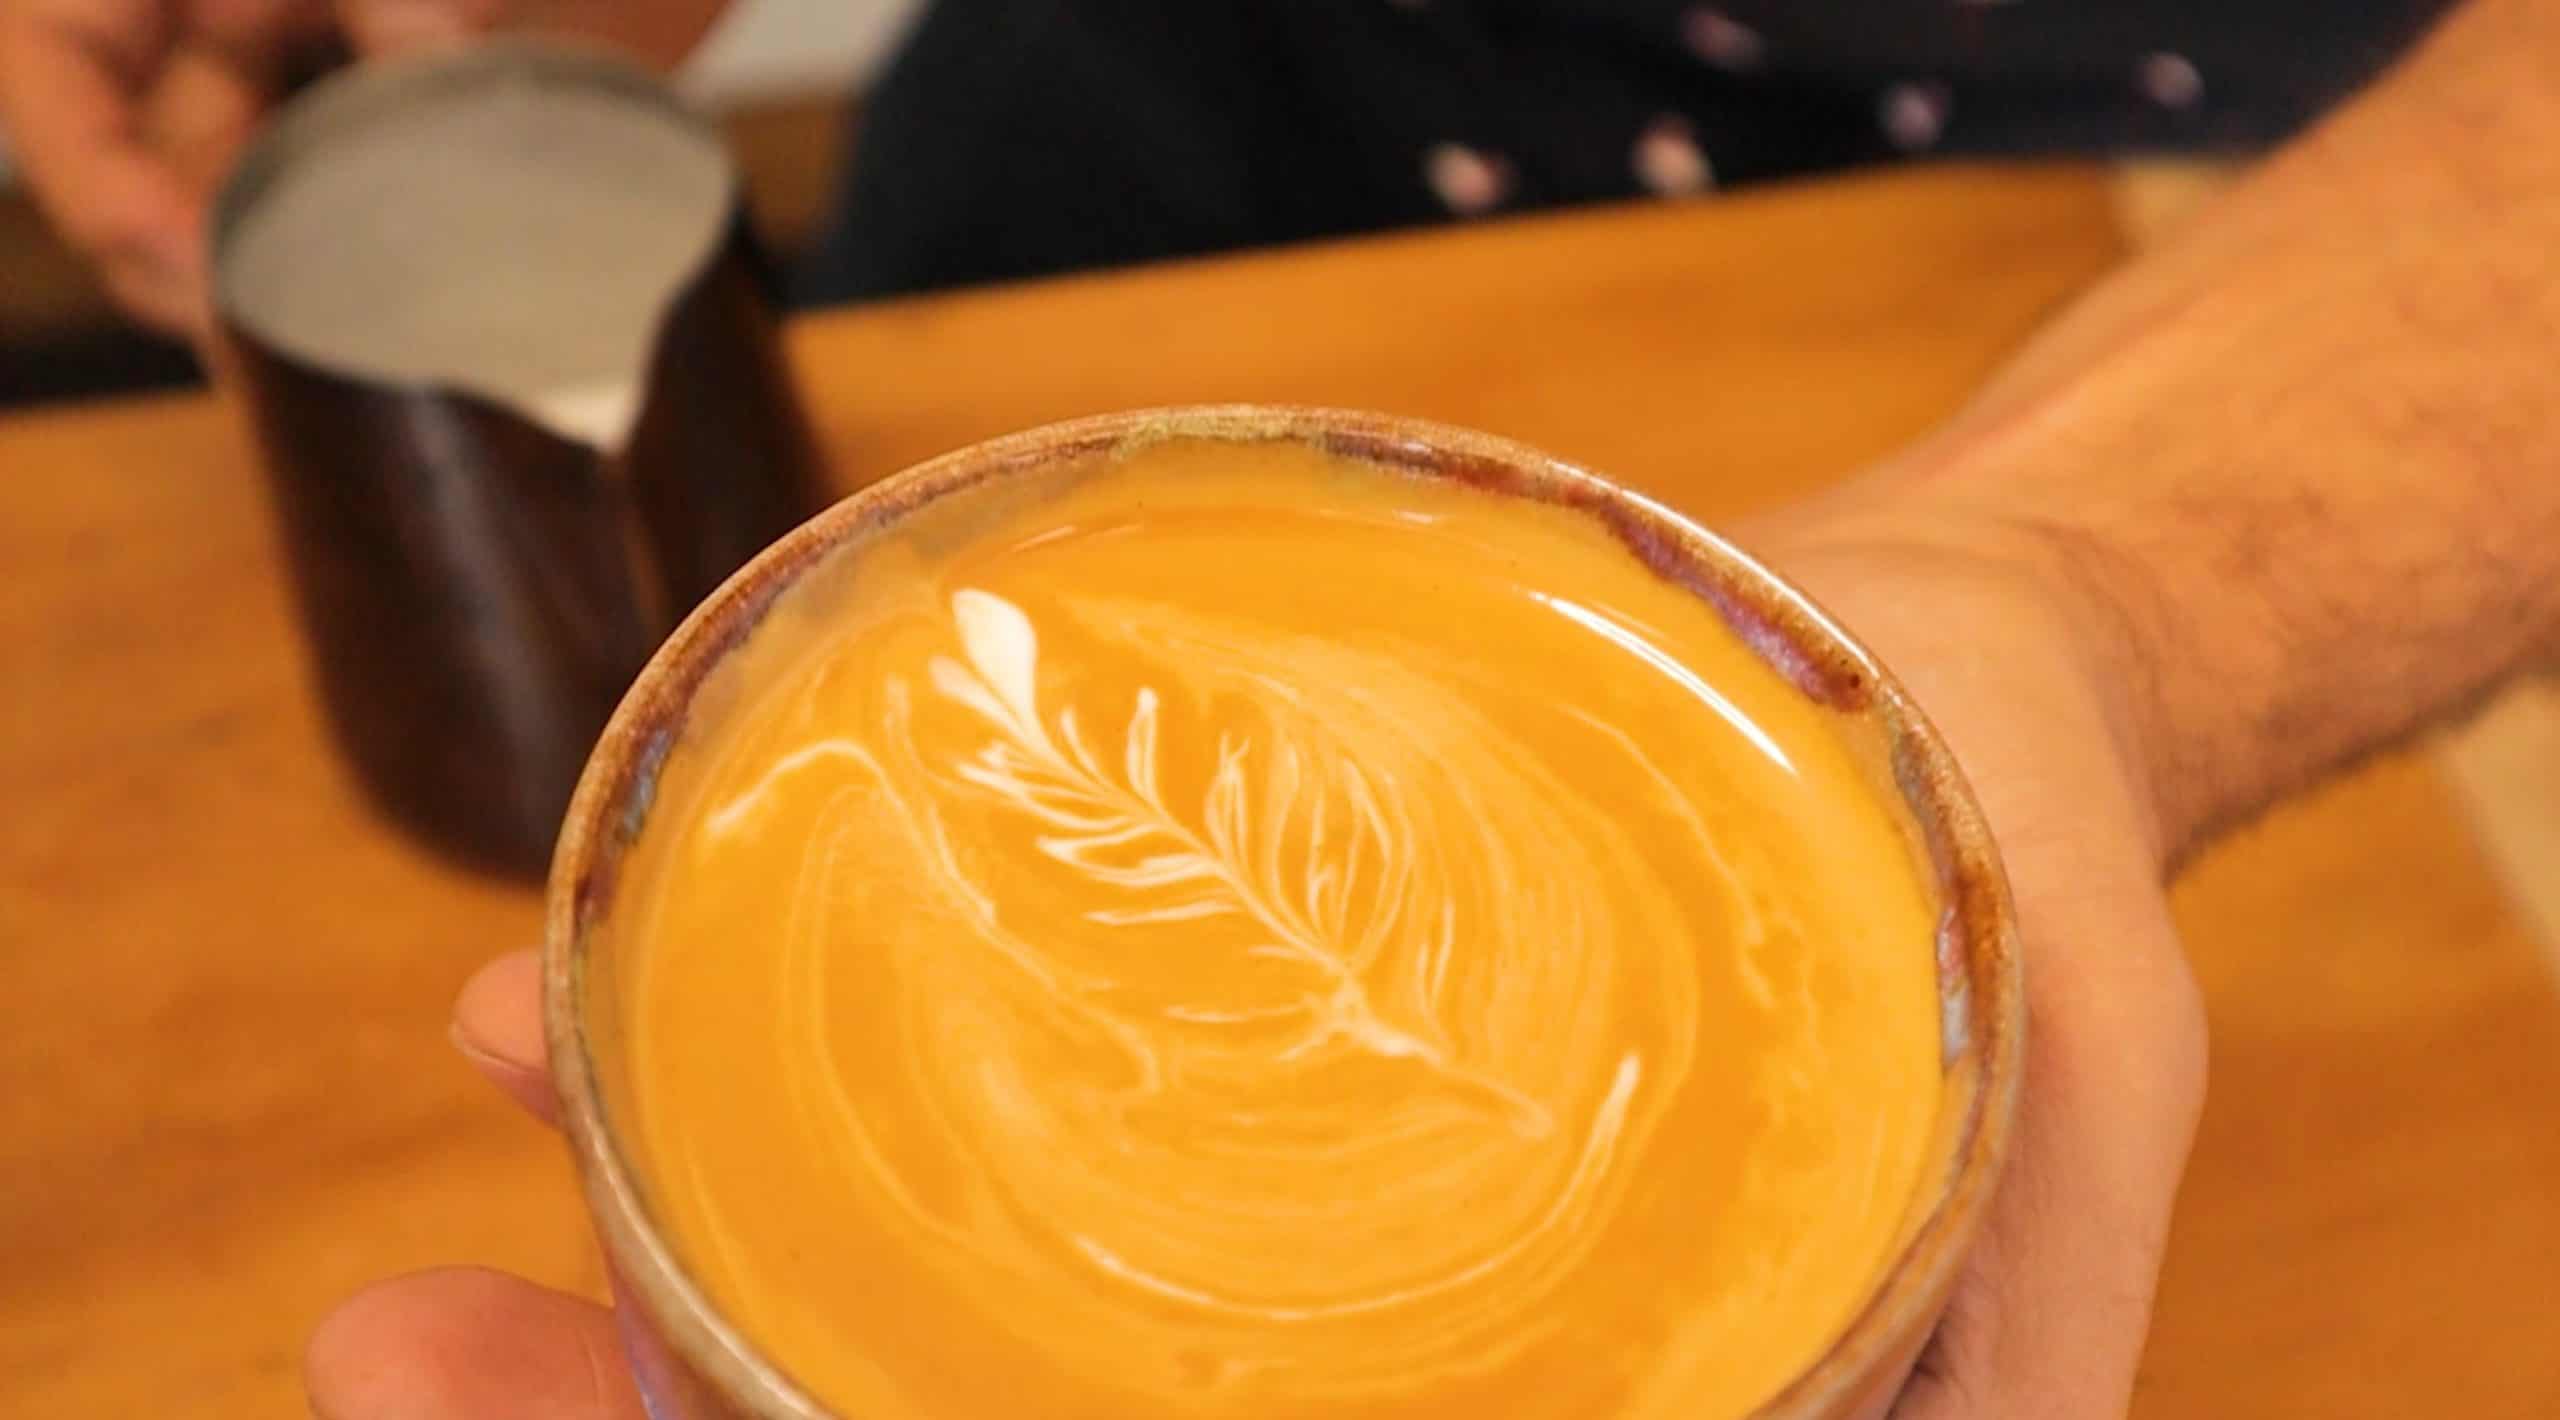
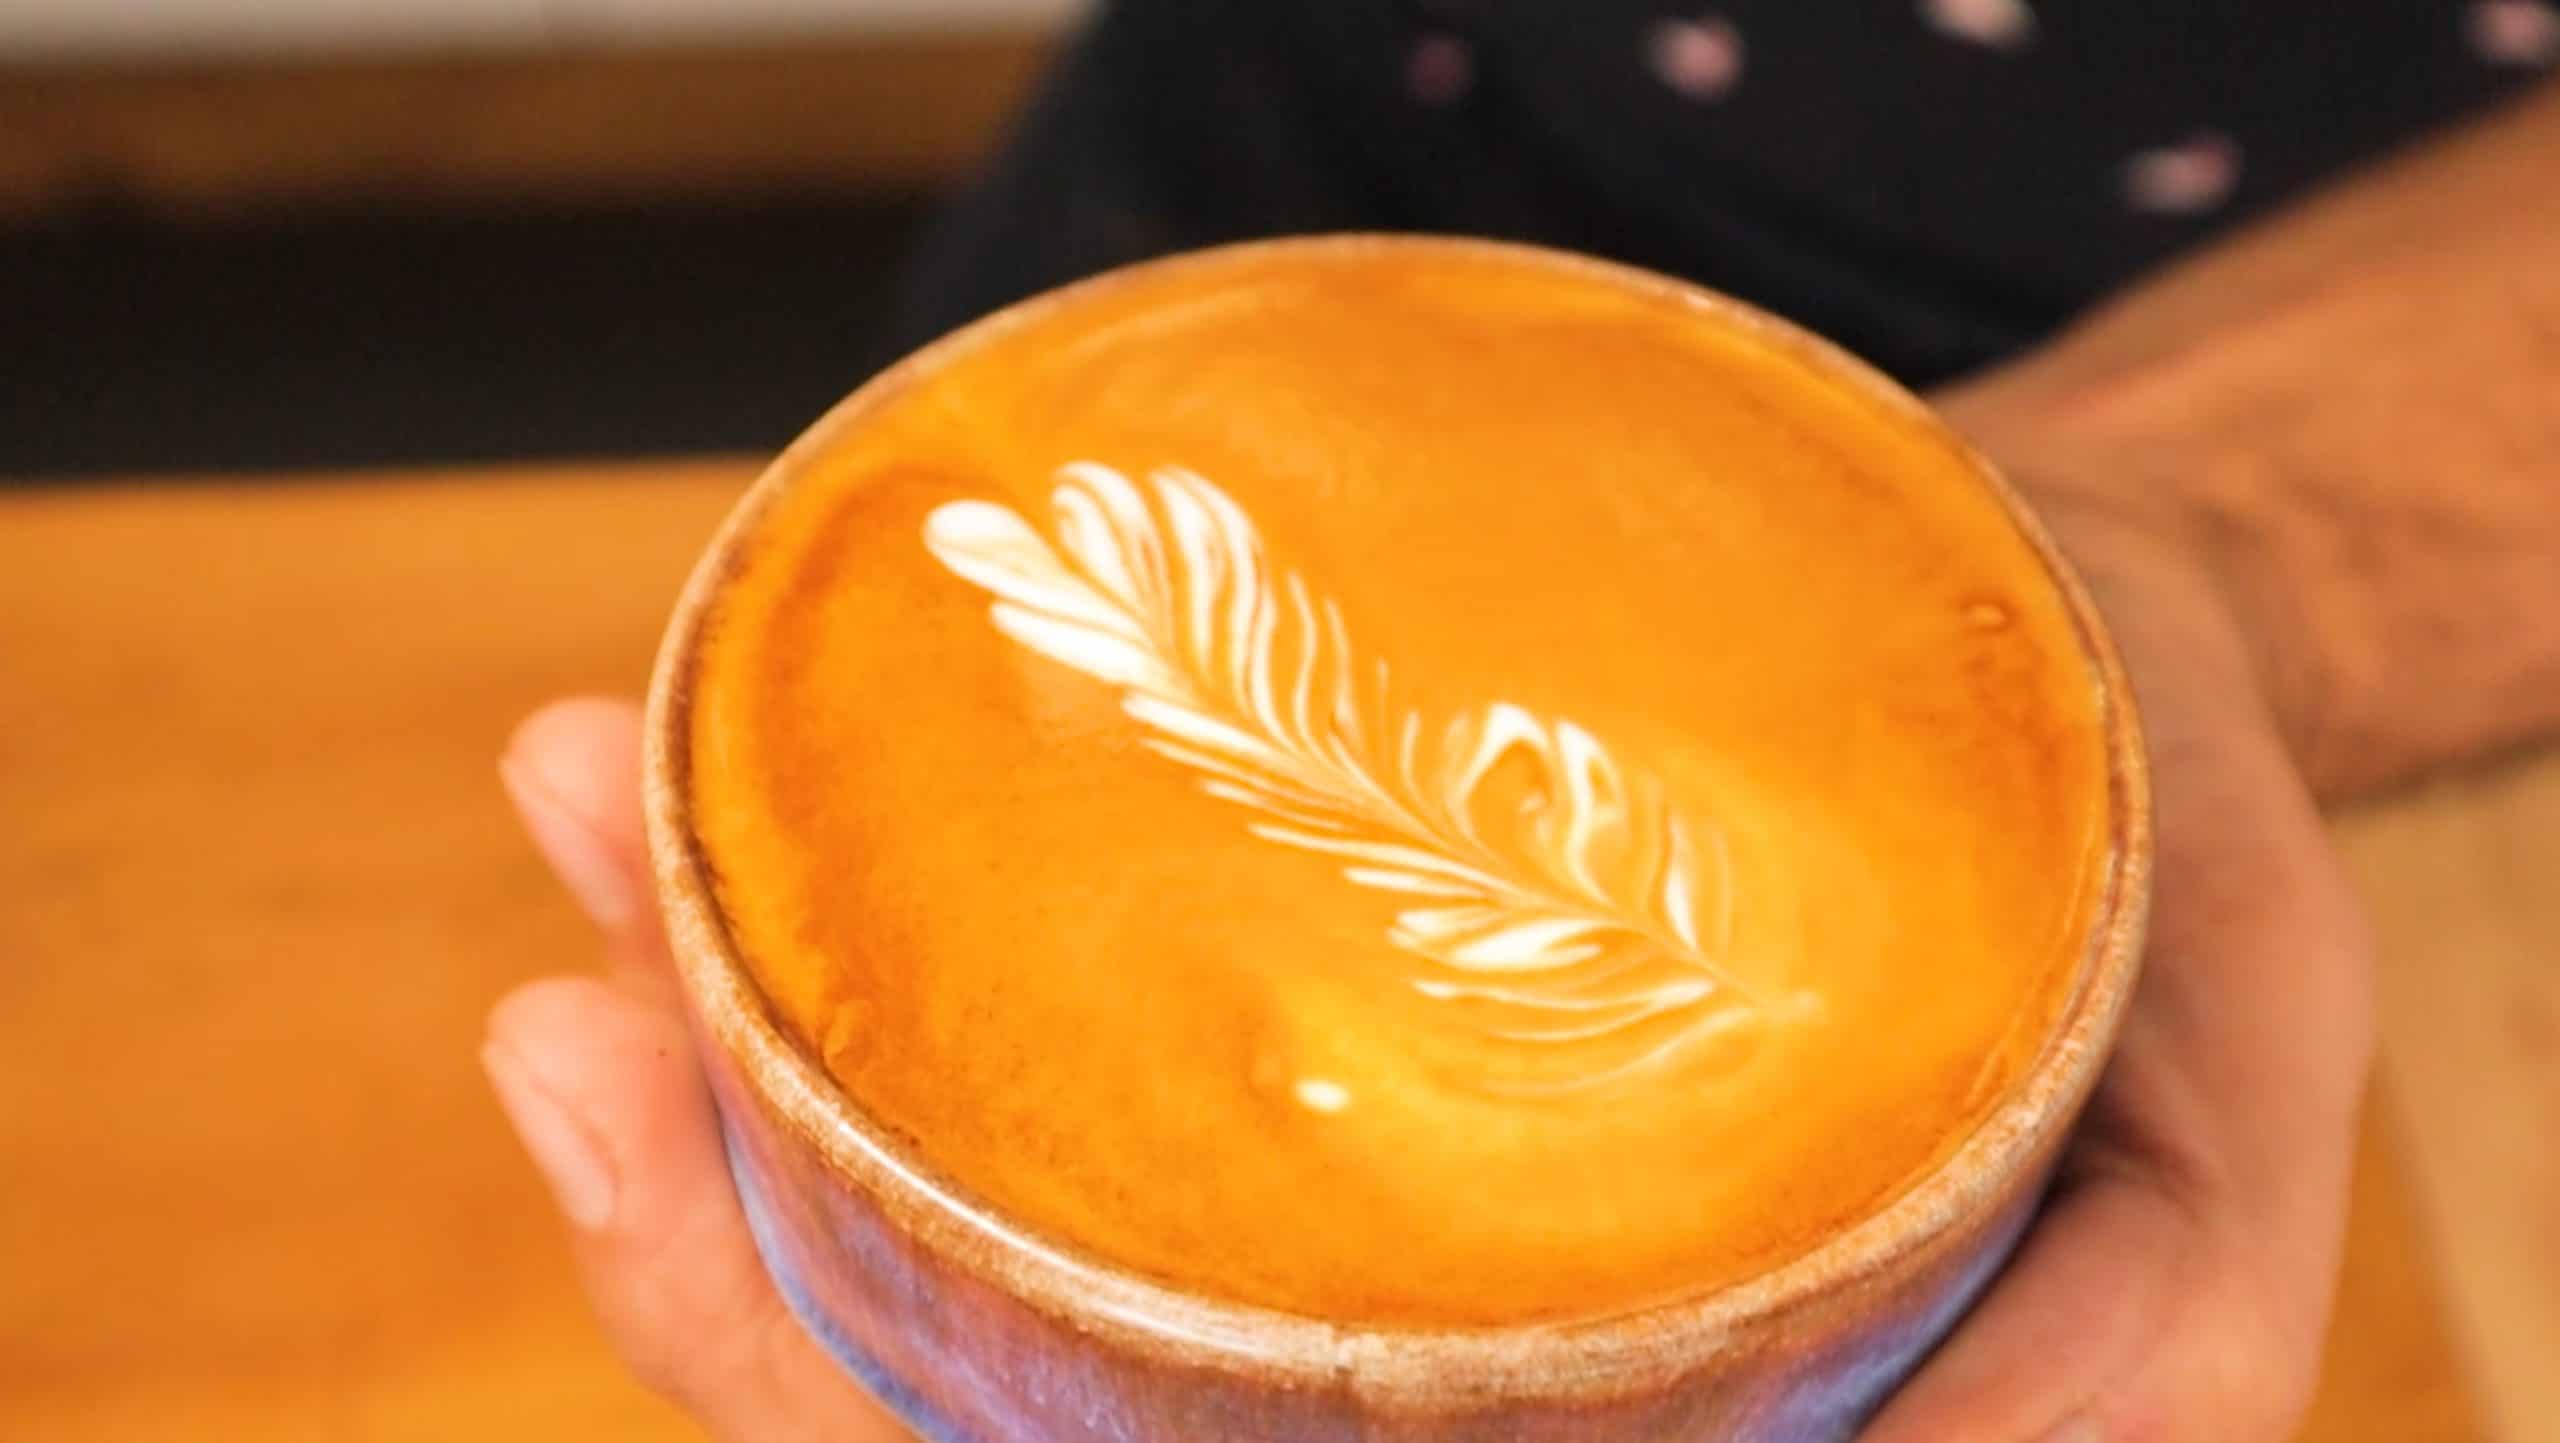
Once you’ve got to the top of the rosetta tree you should drop the tip of the milk jug nice and low to the coffee and hold it in one position so that it forms a little love heart. This allows you to control how full the cup is before you finish off the design. I use this spot to fill up the cup as needed – staying longer if I need to fill the cup more, or moving on tot he next part if I’m right near the top already.

The final movement is to lift the milk jug higher and move the milk jug to the back of the cup. This pulls the leaves in and completes the Rosetta. A mistake rookies make here is to leave the milk jug too close to the cup which pulls in too much of the leaves and forms something that looks like a sprig of lavender – sometimes a garlic clove!
Don’t worry if you don’t get it the first 20+ times. It’s not as easy as it looks. Leave your comments and questions below if you still need help.